Prepare yourself, this is going to be a loooooong post, and it is all about FOOD! I'm talkin' the good, the bad, and the just plain UGLY of the food at my house. If you read further, you will get a delicious recipe for a perfect easy-to-make fall soup, a great new way to make pumpkin seeds, updates on how the caramel apples turned out, and the monster that came from the back of the fridge! Are you excited?!
You
Should
Be!!!
Let's get right to the good stuff. Yesterday afternoon I decided we were in need of a warm and easy pick-me-up dinner. Nathan and I spent saturday afternoon cleaning up the yard in the cold, drizzly weather. So, at about 3:30pm, I put together this crockpot delight using whatever was in my kitchen. You should try it! It is DELICIOUS!!
Katy's Chicken Vegetable Crockpot Soup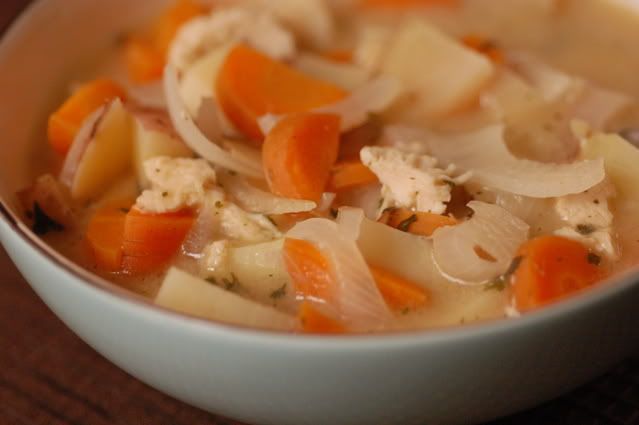
Ingredients:
1 or 2 medium size chicken breasts
4 large-ish red skinned potatoes
3 medium size carrots
2 or 3 small white onions
1 can cream of chicken soup
water
Paprika
Parsley flakes
Seasoned Salt
Salt
Pepper
1. Turn on your crock pot and put in your chicken whole. (I stuck my chicken breasts in whole and frozen, but if you're not in such a hurry as I was, you can cook and cut it if you want.)
2. Chop up the potatoes, onions, and carrots and throw them in the pot with the chicken.
3. Add in the can of cream-of-chicken soup, along with two cans of hot water using the cream-0f-chicken can. Stir until blended.
4. Add a generous dash of the parsley flakes, the seasoned salt, paprika, and pepper. Stir until blended.
5. Let the crockpot cook on high for about 2 hours, or (I am guessing on this) on low for about 4 hours.
6. Check the chicken after the time has passed, and if it is done, fish it out and cut it up into bite sized pieces. Also, make sure that your carrots are tender and done.
7.Stir the chicken back into the pot. Taste the broth and see if it needs any more salt, and if so, salt to taste.
8. Serve with a side of crusty sourdough toast! YUM!!
Makes about 4 hearty servings.
You know you want some ;)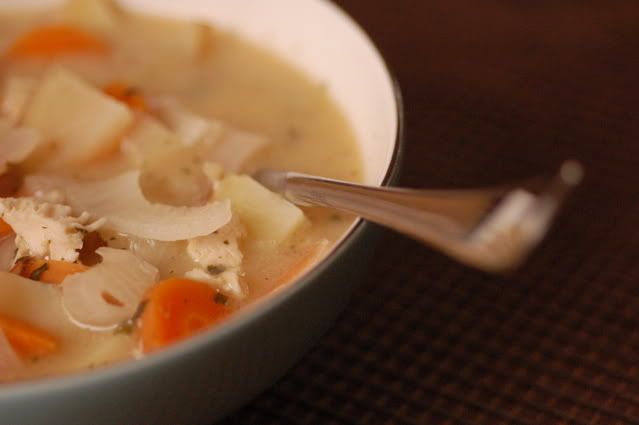
CARAMEL APPLE UPDATE!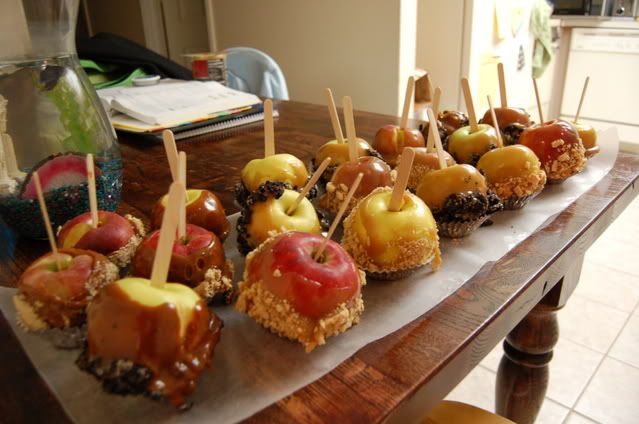
The caramel apples I made were a complete success!! Upon Nathan's doubting request, I actually made 2 kinds of caramel apples for our halloween party. I made the honey organic ones that I included the recipe for in my last post, as well as a standard corn-syrup processed sugar and butter kind of caramel that Nathan said he knew he would like. Both turned out really well!!
The only thing about the honey caramel was that it was a little more finicky to make in the pot. I think I cooked it a little too long and didn't stir it enough, and so it got a little dark. This actually ended up being really delicious however! It added a more molassessy, nutty taste the the caramel, which was DELICIOUS! Below, you can see the difference between the processed sugar caramel and the lovely organic honey kind: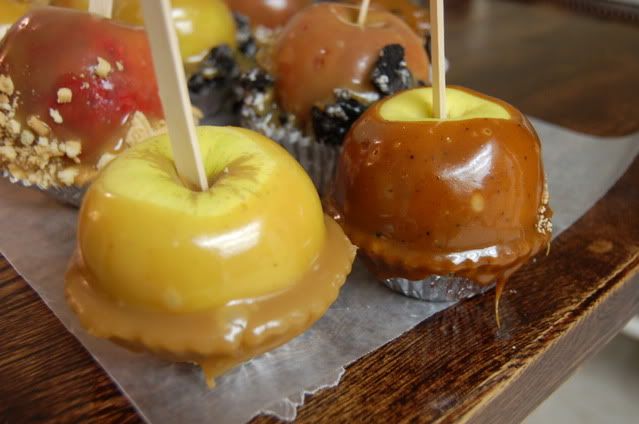
(by the way, Nathan finally admitted that the honey caramel was just as delicious, if not better than the other one.)
After I dipped the apples, I rolled most of them in crumbled up oreos or in crumbled up peanutbutter cookies. I copied this idea from the Rocky Mountain Chocolate Factory caramel apples, which are OUT OF THIS WORLD! They are totally worth the high price, at least once a year anyway.
Anyway, these apples turned out GREAT! I'm going to make more today for our great hometeachers. You should too!
Parmesan Pumpkin Seeds
So, even though I posted some other delicious looking recipes in my last post, when it came down to it I just made up my own. Hee hee. I did steal a few ideas from those recipes, but I really loved what I came up with!
Ingredients:
About 4 cups of pumpkin seeds
2 Egg whites
Parsley Flakes
Sugar
Seasoned Salt
Grated Parmesan cheese
Salt & Water
1. Bring a pot of salted water to a rolling boil and throw in your seeds. Set your timer for about 10 minutes and let those babies get nice and salty. This also cleans off all that pumpkin goop, so don't stress if you haven't been able to get them really clean.
2. Dump the seeds in to a strainer and shake as much of the water off of them as you can.
3. In a bowl, add two egg whites to your pumpkin seeds and stir generously. Then add in a couple of shakes of parsley flakes, about 1/4 cup sugar, and a couple of dashes of seasoned salt (be careful though, you already salted them pretty good with the water, so go easy.) Stir until it is well blended.
4. Lay the seeds out on a greased cookie sheet in as close as you can get to a single layer. Sprinkle them with the parmesan cheese and a little more of the parsley flakes (if you are obsessed with parsley flakes like I am, I think they make everything look so much prettier.)
5. Bake in a 450 degree oven for about 5-10 minutes. Watch them very closely though.. don't just let them go the whole 10 minutes without checking them a couple of times. When they are getting lightly brown, take them out of the oven and stir them around. Get them back into line with their single layer and pop them back into the oven for a few more minutes. When they are getting brown again, yank them out!
6. I like my pumpkin seeds on the chewy side, so at this point they are done! However, if you like yours on the nuttier crunchy side, stick them back in for a few more minutes until the desired brown-ness has been attained.
7. Enjoy! (I kn0w we did!)
I don't want to ruin your appetite or anything, but it is Halloween....
Yesterday, as Nathan and I were cleaning out the fridge, we found this little monster who had been lurking behind the milk for who knows how long. It was so freakish, we had to have a photoshoot....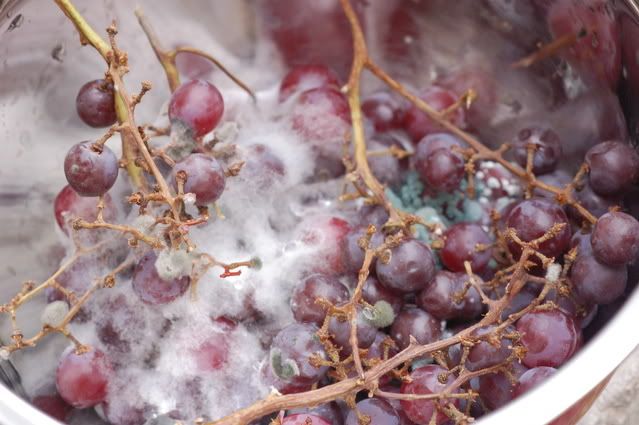
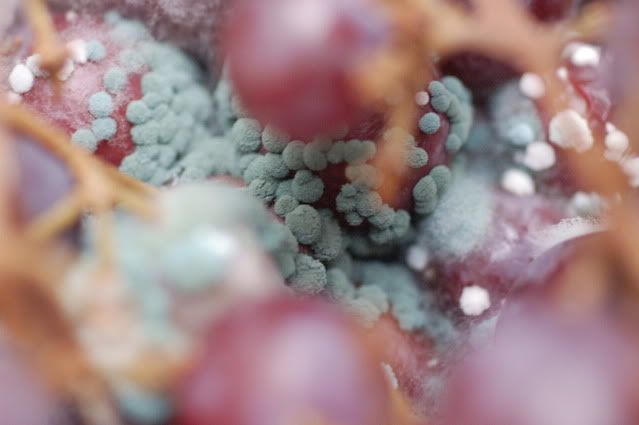
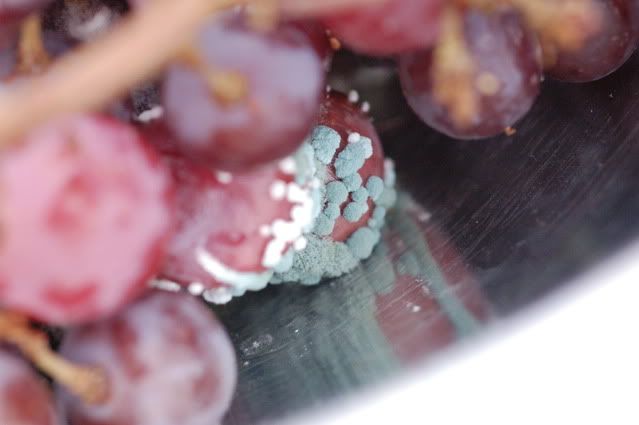
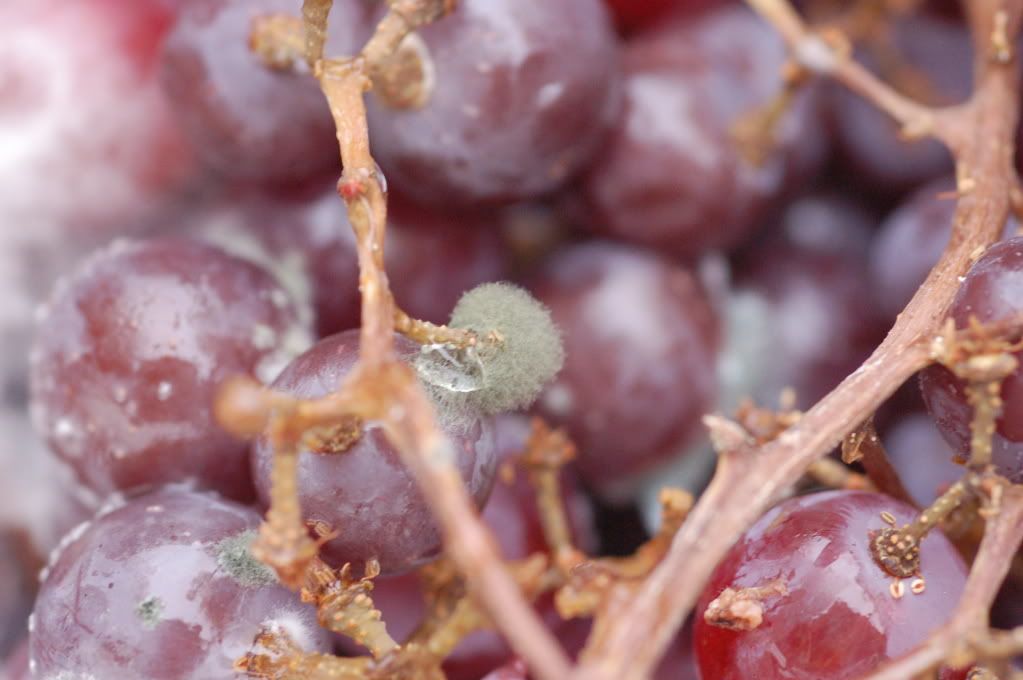
I think we counted 5 different kinds of moldy creatures in there. Oh the humanity.
Saturday, October 31, 2009
Hungry yet? Oh, you will be.
Wednesday, October 21, 2009
Harvest Projects:
Friday night we are having a harvest pumkin carving party, and so tomorrow afternoon I am going to make this recipe with the apples Sharon & Eldon grew:
(Recipe compliments of 101 Cookbooks)
Caramel Apples Recipe
October 15, 2008 | 97 Comments
Placerville, California is apple country. This time of year, apple farms line nearby country roads and all manner of apple products are sold - apple pies, dumplings, fritter, ciders, doughnuts, sauces, cookies, and of course...caramel apples. On our drive from San Francisco to Lake Tahoe last weekend Wayne, Jennifer, and I pulled over in Placerville to have a picnic lunch at one of the local wineries nestled in the Sierra foothills. On our round-about way back to the highway we also visited a couple of the local apple-centric attractions. It was just the reminder I needed. For years I've wanted to do a new caramel apple recipe for my site. I thought I might be able to do a version using apples, honey, cream, and salt. That's it. No white sugar, no corn syrup, and no melting of Kraft caramel squares.
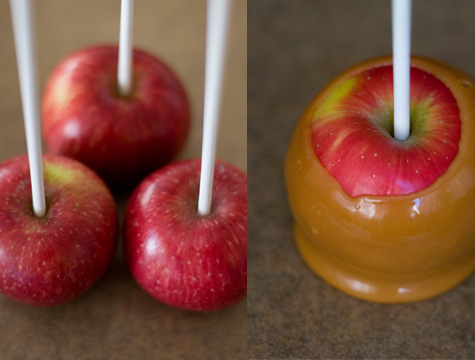
I also wanted to avoid a few of the caramel apple pitfalls that have tripped me up in the past. For example, I needed the caramel to stay on the apple. Lots of people, myself included, have had trouble with caramel not setting on their apples. I decided to use the technique I use to make my favorite caramels - the honey-sweetened caramel gives the apples a beautiful, opaque, golden coat and tastes rich, chewy, and decadent.
A few things you should know before you start. You need a candy thermometer. I have one from Whole Foods Market that cost me about $4 - works fine. But I'm going to admit, this time around I used my infrared thermometer gun. Either way, a thermometer is important because the key to this caramel recipe is achieving a good set, you want your caramel to be able to hold a shape once it cools. To make this happen you need to heat the ingredients to a very specific temperature. I know it all sounds precise and fussy, and to a certain extent it is, but really all you're doing here is putting a very short list of ingredients together in a pot, and bringing the temperature up, up, up into what is considered "hard ball" territory 255F - 260F degrees. If you don't heat the caramel enough, it will likely run off the apple, but alternately if you go too hot the caramel will be difficult to bite into, and will have more of a tendency to peel off the apple.
Caramel Apple Recipe
Please be careful when making caramel apples, you will be working with dangerously hot, sticky, ingredients - I always put on an apron and make sure I have a closed-toed pair of shoes on when making candy. Be extra, extra careful if you have kids around. On the ingredient front, I typically go for a mild clover honey when making caramels.
6 - 8 small apples, unwaxed, cold
1 cup heavy cream
1/2 teaspoon sea salt
1 cup honeySpecial equipment: candy thermometer, and lollipop sticks
Line a baking sheet with parchment paper.
Push a lollipop or popsicle stick deep into each apple - in through the stem.
Fill a large bowl 1/2 full with ice water and set aside.
In a medium, thick-bottomed saucepan heat the cream and salt until tiny bubbles start forming where the milk touches the pan - just before a simmer. Stir in the honey. Bring the mixture to a boil. Now reduce the heat to an active simmer and cook, stirring constantly with a wooden spoon, for about 15-20 minutes minutes or until the mixture reaches about 255-260F degrees. To stop the caramel from cooking, very, very carefully set the bottom of the saucepan in the bowl of cold water you prepared earlier - taking special care not to get any of the water in the caramel mixture. Stir until caramel begins to thicken up - you want the caramel to be thin enough that it will easily coat your apples, but not so thin that it will run right off. If the caramel thickens too much simply put the pot back over the burner for 10 seconds or so to heat it up a bit.
I tilt my sauce pan so all the caramel forms a pool on one side, and use my other hand to dunk and twirl each apple until it is thoroughly coated with caramel. Place each apple on the parchment lined baking sheets and allow the caramel to cool and set.
Makes 6 - 8 caramel apples.
And again from 101 Cookbooks, I am going to make this with our sweet pumpkin guts:
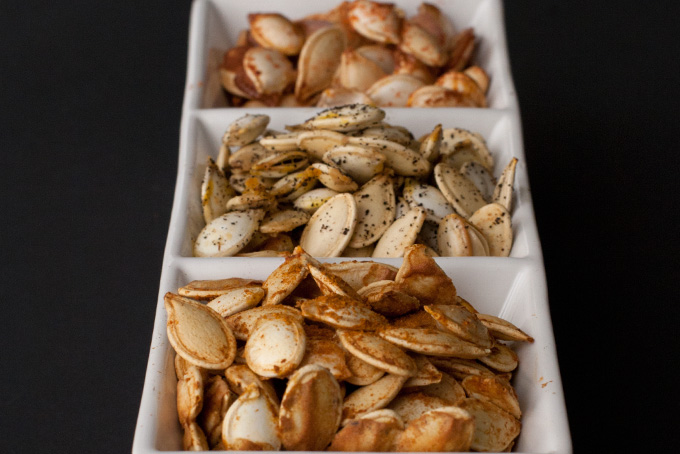
Toasted Pumpkin Seeds
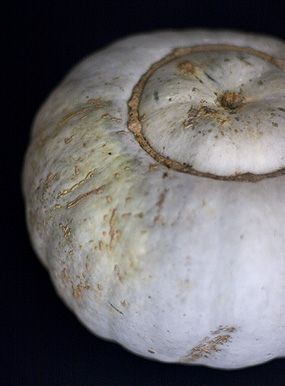
There are a couple of ways to go about toasting pumpkin seeds. I should mention, that in addition to the way I make them, there is also an extended cooking technique as well. If you have more time and patience, you can boil the seeds in salted water for roughly 10 minutes before draining and proceeding with the rest of the instructions (scale back on the salt called for in the individual recipes). Your seeds will have a nice crunch to them, and more balanced salt distribution. That being said, I usually skip this step (particularly if I'm at a pumpkin carving party and people are excited about sampling the seeds of their labor). If you're interested in this approach, be sure to check out Elise's Simply Recipes site if you want the play-by-play on this method.
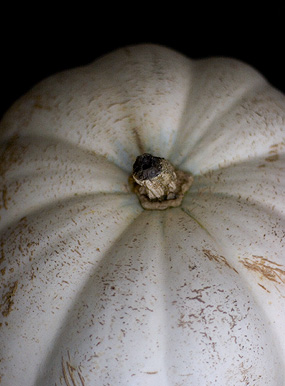
Sweet & Spicy Pumpkin Seeds
1 egg white
1/4 cup natural cane sugar
1/2 teaspoon cayenne pepper
scant 1/2 teaspoon fine grained sea salt
1 cup fresh pumpkin seeds
Preheat oven to 375. In a medium-sized bowl whisk together the egg white, sugar, cayenne and salt. Add the pumpkin seeds and toss well. Drain off any excess egg white (using a strainer) and place seeds in a single layer across a baking sheet. Bake for about 12 minutes or until seeds are golden. Sprinkle with a bit more sugar and cayenne pepper when they come out of the oven. Taste and season with more salt if needed.
Makes one cup.
Curried Pumpkin Seeds
1 egg white
2 teaspoon curry powder
scant 1/2 teaspoon fine grained sea salt
1 cup fresh pumpkin seeds
Preheat oven to 375.
In a medium-sized bowl whisk together the egg white, curry powder and salt. Add the pumpkin seeds and toss well. Drain off any excess egg white (using a strainer) and place seeds in a single layer across a baking sheet. Bake for about 12 minutes or until seeds are golden. Sprinkle with a bit more curry powder when they come out of the oven. Taste and season with more salt if needed.
Makes one cup.
I will let you know how these turn out!!
Monday, October 19, 2009
The great painting caper begins!
We are systematically taking on the task of fixing and painting the walls in our apartment. When we moved in, there were LOTS of holes in the walls, and so it needed to be done really badly. We worked it out with our landlords to figure the cost into our rent, which is great because I can make things look the way I want them to. Muah ha ha! The first room I did about a month ago was the bathroom. You can't tell in this picture all that well, but in addition to the holes in the walls, the paint job was a badly done feux finish in a very repulsive mauve color. Bleh! I'd say our blue is a very big improvement!


We painted the living room this weekend, and it looks fabulous! Pictures to come!
The long awaited tour...
Hello dear friends! I am so sorry for my lengthy absence... School has been all-consuming to say the least. However, I did promise a tour of our new place, and so even though we've made a few changes since these pictures were taken, I thought you'd like to take a peek! Please disregard
the mess, I took these the week that we moved in, and things were still EVERYWHERE.


 Isn't this place awesome?!! We are so happy to be living here, and to actually have a little more room to breath and stretch out. I think we will be sticking around for a long time!


