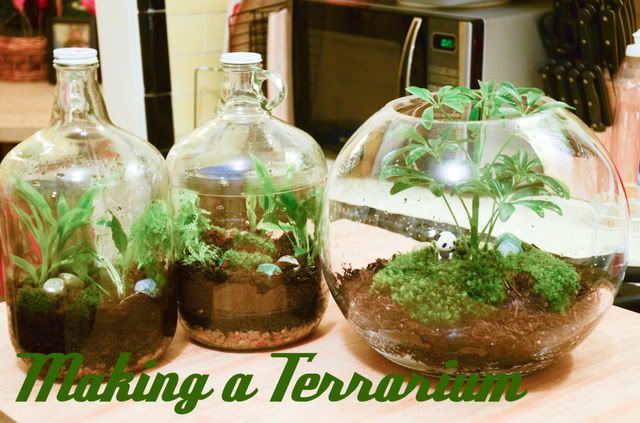
Hello friends! Have you ever considered making a terrarium? Well.. if you have, this is your lucky day! I am going to teach you how to make one.
I suddenly became OBSESSED with terrariums over the last few weeks, and I have been dying to make a few. I did a ton of research before starting, because I didn't want this project to fail. (disclaimer.. as I write this, my terrariums are less than a week old, so there is still potential for failure here...)
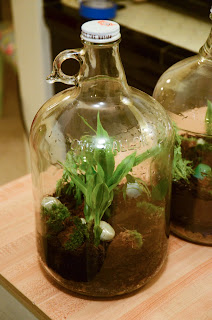
What mainly inspired me was finding these really cool old glass jugs in my basement. One was an A&W rootbeer jug from who-knows-when, and the other is an old vinegar jug. My grandmother had kept them for some reason, and they are too cool not to re-purpose somehow. When I started doing my research, I found some really great inspiration on google images. I also found some great websites on how to build a terrarium here:
http://www.ehow.com/video_9374_make-terrarium.html
http://www.stormthecastle.com/terrarium/
http://www.stormthecastle.com/terrarium/terrarium-basics.htm
http://www.stormthecastle.com/terrarium/terrarium-plants.htm
My other resource was a section of ebay that I think was called the reference section? They had a lot of helpful information too, which I will share with you now!
 |
| Open Air Terrarium |
 |
| Closed System Terrarium |
Both are low-maintenance when constructed correctly, but the closed system kind are especially low maintenance. You only have to add water once a month or so. This is because the water goes through a little mini water cycle! So cool!
The only problem with the closed system ones is that they often get pretty misty on the glass (mine are already doing this), so you can't always see the plants really clearly. If you don't mind that, then go for it! I decided to try both types, since I already had the containers and enough supplies for three of them total.
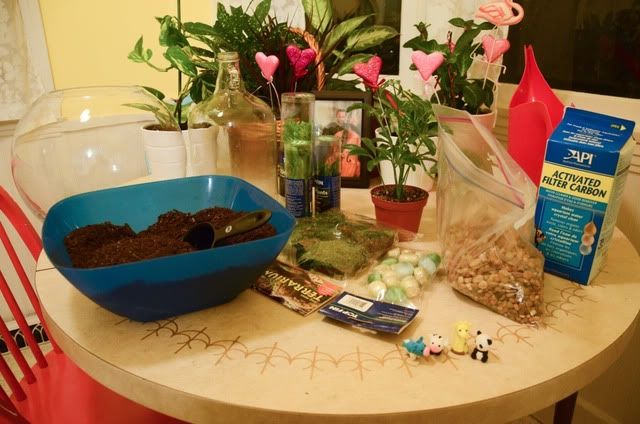
Materials:
- One glass container of the desired size and shape
- Pea gravel (fish tank gravel is perfect)
- Loose activated charcoal (can be found at any pet store)
- Sterile bagged potting soil (from any garden center)
- Live terrarium plants, moss, or seeds that you like
- Decorative elements if desired (rocks, figurines, sticks, etc.)
- Tools to reach inside of narrow neck containers if needed
- Water
Selecting a container:
Your container should preferably be made of glass. This is the best material because water adheres to it very well and creates a great "rain" effect when the water builds up on the inside. Not to mention that it is much prettier in my opinion. It should also be clear or very lightly colored glass. Dark glass, such as most wine bottles are much too dark to allow the plants enough light to survive. If you want a challenge, then choose a narrow-neck bottle. I am serious when I say that it is a challenge, but if you are up to it, go ahead. If you want something easy and quick, I would go for something that has a mouth that is wide enough to fit your hand through.
My two closed system jugs were sweet finds in my grandmother's basement, but you might be able to find something similar in a thrift shop. They hold one gallon each. I also know that Hobby Lobby has really awesome glass containers that has very intricate lids in which you could create a closed system without the trouble of a narrow neck.
My open-air container was purchased about a year ago at the Ross in Orem, UT. It has a itty bitty chip in the rim, and so they gave me 25% off :) It holds about three gallons. I used to keep a beta fish in it, but it died the day before Evie was born :( RIP Boris!
*Note: If you like the look of the narrow neck containers but don't want to go to all of the trouble of dealing with planting things in them, consider starting your plants from seed. Seeds are much easier to put into the soil in a narrow-neck bottle than full grown plants.*
Selecting plants:
I was pretty stumped on where to buy plants, since it is now essentially winter time in Utah. Most of the nurseries here have closed down for the season, and I knew I certainly wasn't going to find what I needed at Home Depot or Lowes. I looked on Ebay and Amazon, and there are a surprising amount of live plants for sale there, if you are feeling both daring and patient. I decided not to order them online unless I really couldn't find something locally. I called a favorite aquarium store of mine in Draper (http://theaquariumutah.com/), and they said they only sell fully aquatic plants. Boo. They do sell fantastic fish and fish supplies, though. And their store is pretty much just as beautiful and impressive as the Living Planet Aquarium across the street from them.
I went to Petsmart on my lunch break on early this week to get the activated charcoal for the soil layering (more on that later), and I thought I'd just see what they had. They had quite a few "semi-aquatic" plants that are perfect for moist terrarium environments. They only had a few varieties to choose from and they were a little pricey ($4-8 each), but they looked like they were in pretty good condition. I chose these three varieties:
Peacock Fern (7 in.)
Gold Ribbon Plant (4 in.)
Umbrella plant (4 in.)
The good thing about purchasing this way is that there are several plants in each container, so you can split them up between several terrariums if you want.
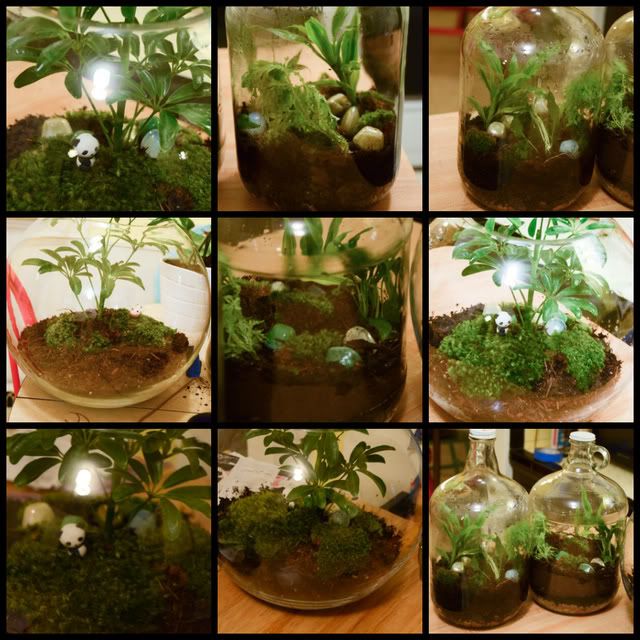
Petsmart also carried what is called "Terrarium Moss". It is technically "Frog Moss", but it is the coolest thing ever! It comes completely dry sealed in a plastic bag, and when you plant it and water it, it comes back to life! It is so neat! It was already starting to soften up and look lively only an hour or so after its first watering. Amazing.
I also went to IKEA the same day for something completely unrelated, and decided to browse their plant section. They have quite a few plants labeled as "Assorted Himalayan Tropicals", all of which looked hearty. I selected one (who knows what the actual species is..) for my open-air terrarium. They also have a great selection of succulents and cacti if you wanted to do a desert terrarium. That might be one of my next projects :)
Just know that if you are doing a closed system terrarium, you should chose plants that tolerate moisture well. Semi-aquatic plants are good, tropicals are good, and so are carnivorous plants. I actually ordered some Venus fly trap seeds on Amazon for my next carnivorous terrarium. A good rule of thumb is to keep like plants together. If you are going to do cacti & succulents, go ALL cacti & succulents. If you are going ALL tropical, use only tropical plants.
One other tip: if you are using a narrow-neck aquarium delicate or floppy plants, like my peacock fern, were really really hard to plant. The gold ribbon plant was the easiest one to put in because it is much more stiff.
Process:
Once you have gathered all of your materials, you are ready to start!

Step 1:
Wash your container in hot soapy water.
 |
| Clean containers |
 |
| Newspaper Funnel |
 |
| 1 inch pea gravel layer |
 |
| 1/2 inch activated charcoal layer |
 |
| Soil Layers |
 |
| Wire and bamboo tools |


1 comments:
I love this Katy--thanks for sharing. Maybe I could manage one of these at work!
Post a Comment